


The office makeover was a wonderful learning process for us. The bookshelves are a custom piece we designed ourselves based on the dimensions of the room. We did tons of research on Ana White and Sawdust Girl and from their plans we created something that would work for our needs. One of our favorite features of the bookshelves is the adjustable shelving we created using the Kreg Shelf Pin Jig!

We used Pure Bond Birch Plywood for this project. If you've never heard of this plywood - trust us it's awesome. It's cabinet grade quality and looks great stained or painted. Here's some info below from their website.

PureBond hardwood plywood - available exclusively from Columbia Forest Products - is a unique real-wood product that delivers many special benefits, like these:
- The timeless warmth of wood ... with the design versatility to convey traditional, classic or contemporary looks.
- A product line that's available in practically any real-wood veneers
- A product that will deliver decades of performance, durability and great style.
- A product that's environmentally friendly and promotes healthy indoor air quality due to its proprietary soy-based adhesive - instead of potentially hazardous urea formaldehyde.
- Made right here in the US and Canada, PureBond is cost competitive, yet delivers so much more in quality.
- Available to you through most Home Depot stores or through The PureBond Fabricator Network, a partnership of qualified craftsmen, wood shops and manufacturers.

We purchased 2 4x8ft sheets of plywood for the bookshelves and countertop. We were short two shelves but we had extra wood at home in our scrap pile from previous projects for these (always save your scraps - you never know when you'll need them).
We got all of the plywood from Home Depot and the awesome Jason G. at the Vinings location cut everything for us!! This is one of our favorite things about Home Depot. They will cut all of your wood for free. So come prepared with a cut list and exact measurements...don't forget to include the blade width in your measurements (not that we forget about this....cough cough).

One tip we learned when building these bookshelves is to constantly check to make sure everything is square. Another great tip that everyone has heard a thousand times is to measure twice and cut once. Since both of us were working on this project we would both measure an area or board just to ensure we came up with the same measurement.

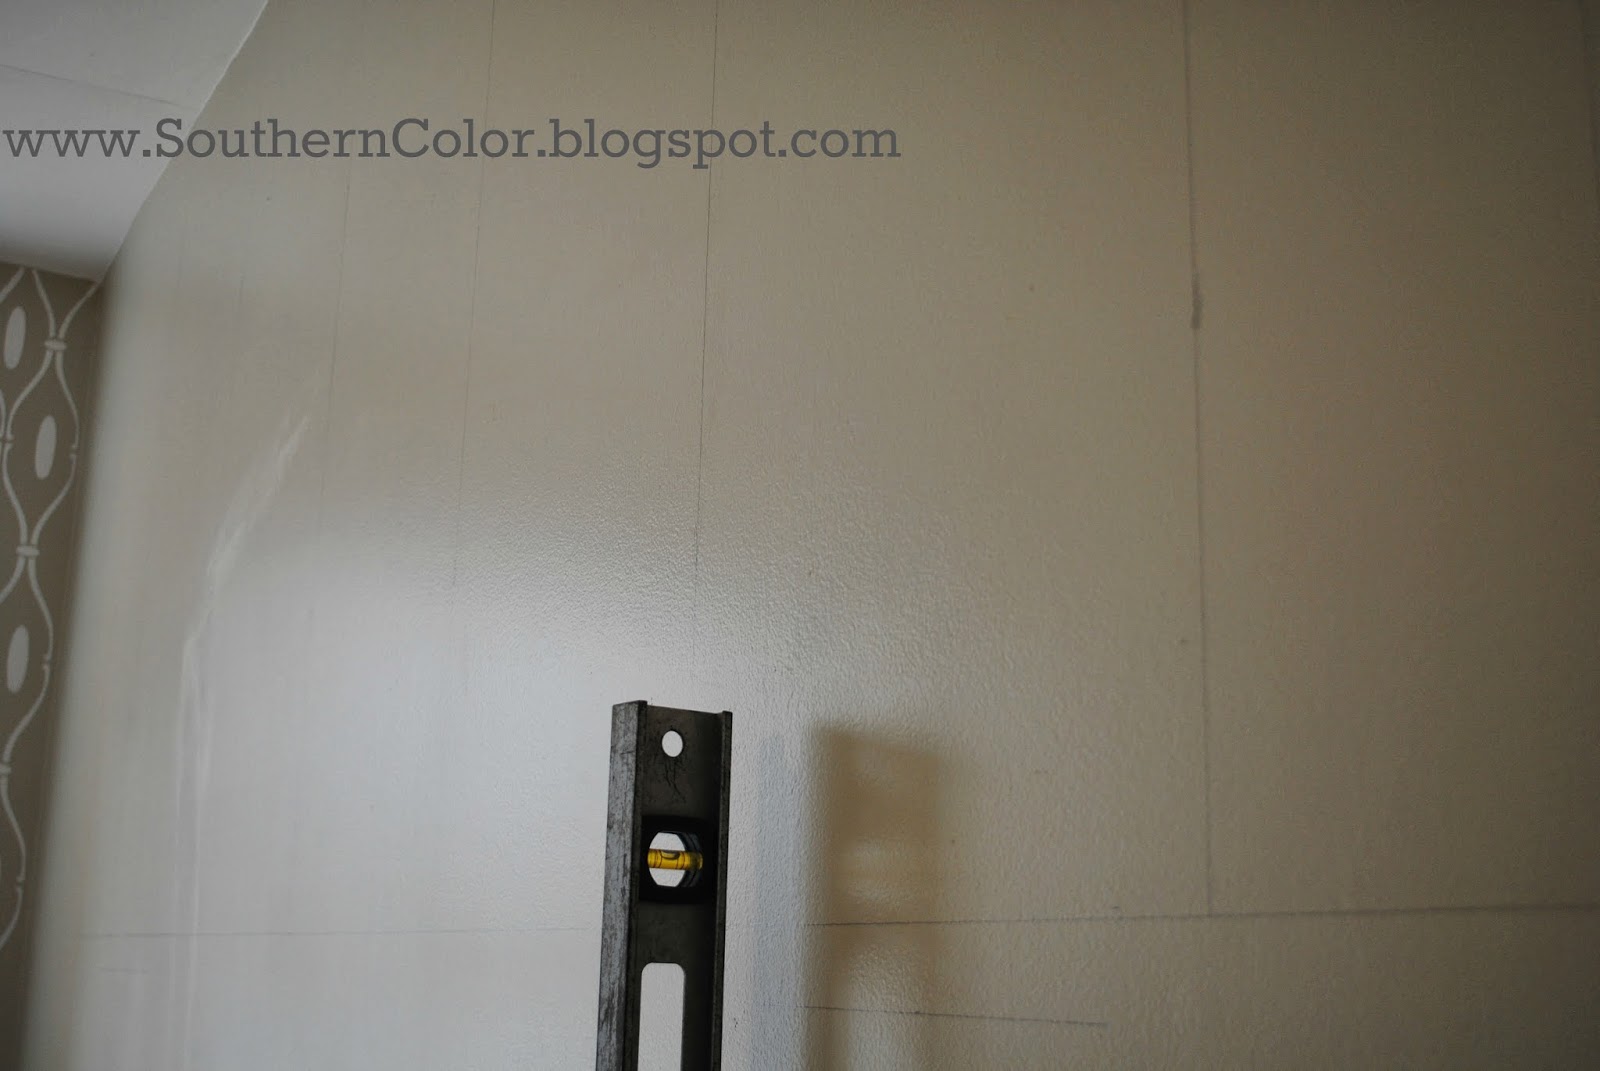
Our shelving unit is suspended from the ceiling and floats above the countertop so one of our biggest goals was to make sure it was secure. We screwed this bad boy into every stud possible...it's not going anywhere, even if GA gets an earthquake. Use a stud finder to find your stud and then mark the stud by drawing a line using your level that is longer than your bookshelf - so you'll still see it when the bookshelf is on the wall.
Once our bookshelf was secure to the wall we framed it out with a face frame using 1x2in poplar. This really gives the piece a finished and professional look.


Next, we primed and painted the bookshelf in white. We painted the back of the bookshelf a deep teal (Behr Tasmanian Sea Turquoise) to add some dimension to the piece.

Here are the dimensions of our bookshelf. If we were to do this again we would definitely build three separate pieces instead of one huge piece but you live and you learn.

Once the book shelf was hung securely it was time to move on to the solid surface work space. We wanted a large area to work on so this piece is 8 feet long and 20 inches deep, we chose Birch Pure Bond stained in a dark ebony.

When staining wood always use a clean foam brush and apply the stain with the grain of the wood. Wipe off the excess stain - the longer you leave the stain on the wood the darker it will be. Once you reach the color you want (we applied 3 coats of stain) apply a few coats of Polyacrylic. This will seal your wood and make it more durable.

Here is the bookshelf all complete!! We are so happy with how it turned out! It was truly a labor of love! We worked on this for three weekends from sun up to sun down - it definitely took us awhile. Plus it involved probably ten trips to Home Depot...we kept forgetting something. But this was our first furniture build so a lot of time was spent contemplating how to do things (mainly how to secure the piece to the wall and ceiling). We really learned a lot from this project and cannot wait for our next project!


We hope we've inspired you to attempt your first furniture build!
Don't forget to enter the giveaway to win a stencil from Royal Design Studio!!


No comments:
Post a Comment