

Remember a month ago when I told you about the firepit area we created in my backyard?!?!?
Here is what the area looked like before:


I tried repeatedly to grow grass in this area and was unsuccessful every time. This area just doesn't get enough sun :( Luckily the other half of the backyard gets plenty of sun so my four legged baby has a grassy area to play in.
The first step to creating the perfect firepit area - kill any weeds or grass in the area.

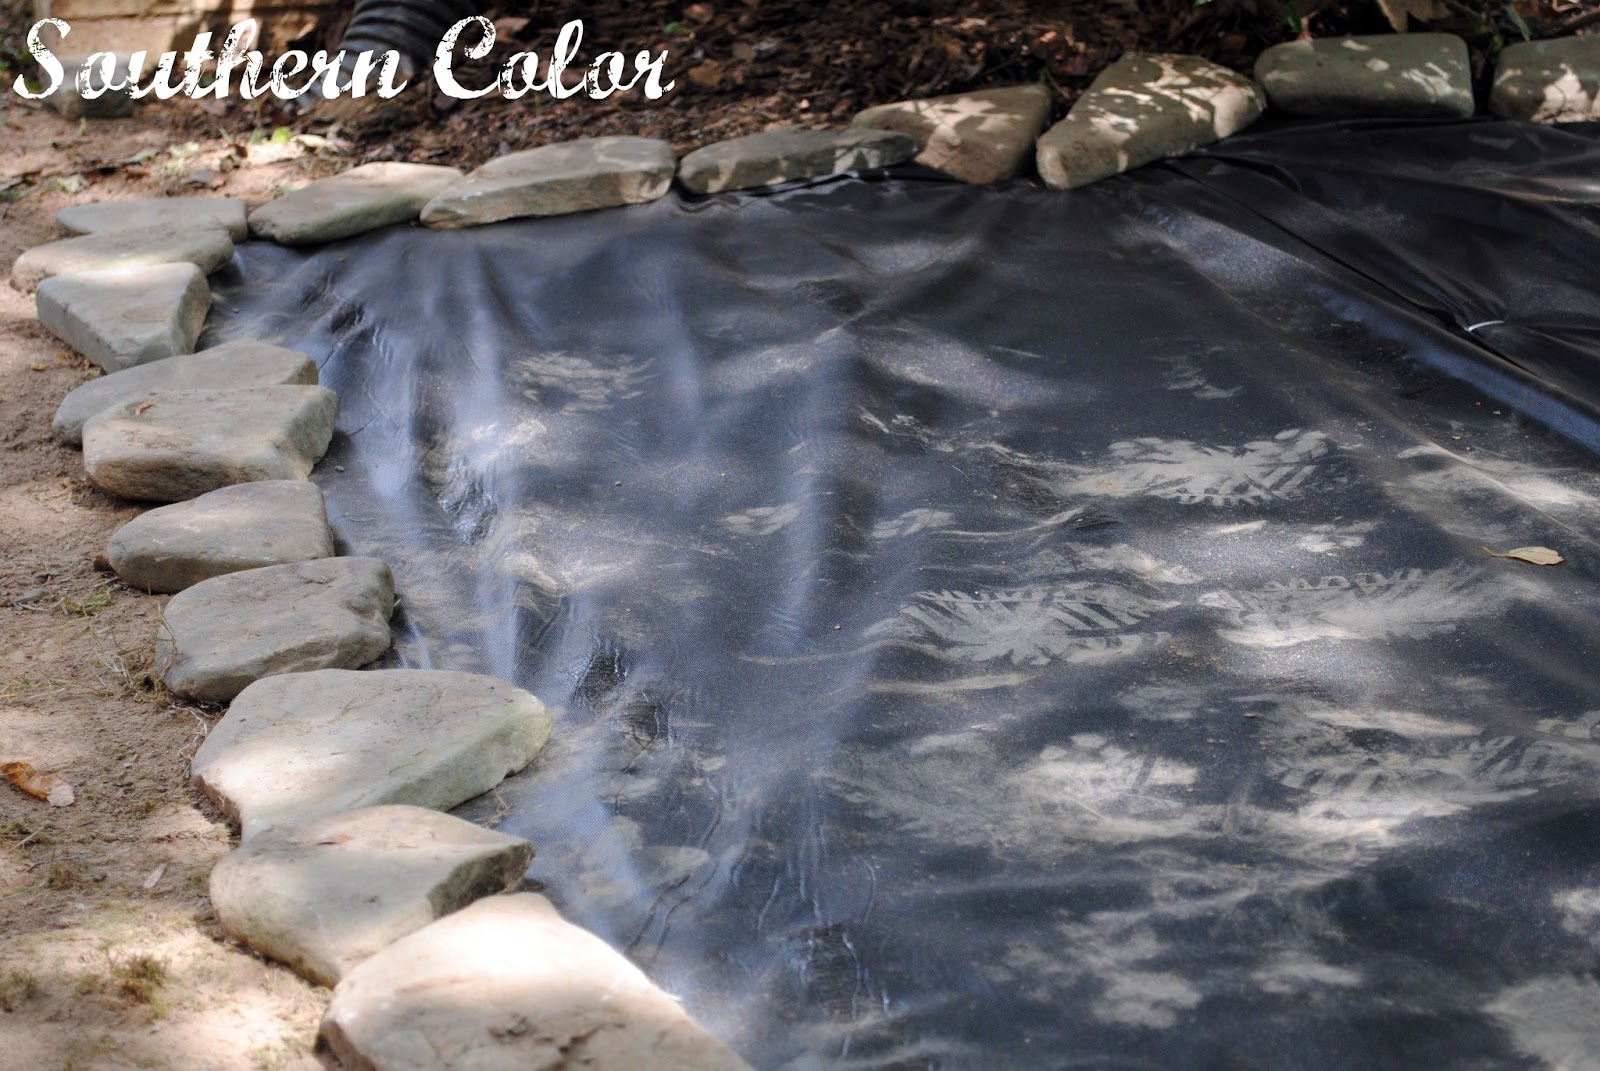
Next lay out weed block fabric. I got 3 ft x 100ft and had just enough fabric for the entire space.

Secure the weed block fabric to the ground with fabric and garden staples (I used 30 of these).

We placed the staples at the seam of the block fabric.

Use a hammer to push it into the ground.

Next I created a border for the firepit area out of stones. These stones were originally in the front yard but I wasn't a fan of them there so I moved them to the backyard. I love reusing materials...saved me so much money!
The stones created a barrier for when we later spread out the pea gravel. I would recommend adding some type of border so that the gravel doesn't spread out forever in your yard.
We then created a circle in the center of the firepit area with pavers for the actual firepit to sit on. These pavers were free too! They were originally stepping stones but had become overgrown with grass and plants...you couldn't even see them so I pulled them up and reused them.

Now it's time for the pea gravel!! We used Vigoro pea gravel that came in 0.5 cu ft bags - we got 80 bags. I decided to get individual bags instead of a truck load of pea gravel (which would have been cheaper) because I don't have a truck or SUV. We were able to haul the pea gravel ourselves from Home Depot to the house in our Honda Accord and Toyota Camry. It was quite a sight...these cars are not made for hauling things so they were pretty loaded down which meant we had to drive very slowly!

It was quite a workout moving the pea gravel from the cars to the backyard. This was definitely the hardest part of the entire project!! Each bag weighed 20lbs. so be prepared for some "heavy" lifting!

Pour out all of the pea gravel. Level the surface using a rack to spread the pea gravel evenly.


This was a very messy job! Even though the pea gravel were in individual bags the bags were dirty and wet!

Last but not least...put your firepit area furniture out! I got four adirondack chairs, outdoor pillows, and a metal firepit.


I love how the project turned out!! Now it's time to enjoy it!


~Julia


"/ >
>

>


7 comments:
Love it! Now time for smores after that workout!
Thanks Angie!! I'm definitely looking forward to roasting some marshmellows this fall!
that looks great! i want to sit out there with a smore!
What a fabulous makeover! Definitely worth all the hard work - and I can imagine some lovely evenings sitting by the fire there!
Thanks for linking to a Round Tuit!
Hope you have a fabulous week!
Jill @ Creating my way to Success
http://www.jembellish.blogspot.com/
Wow, looks great out there! That's a fabulous idea for an outdoor area where grass refuses to grow. :-) Thanks for sharing at The Fun In Functional!
Looking back at your fire pit inspirations, nothing was really quite like this one! It has the same arrangement, but not the same scheme. I’m glad you have this one! :D What part did you find most difficult? I’d probably say the de-weeding of the location part. -->Cathy
It was actually pretty simple! This area doesn't get much sunlight so there wasn't that much grass or weeds that needed to be removed. The hardest part would have to be carrying the bags of pea gravel!! I think my arms and back still hurt from doing that!
Post a Comment